I found this pattern in my stash that I bought years ago in Nashville at a craft store. I've always wanted to sew it, so I decided to work on it.
Specs
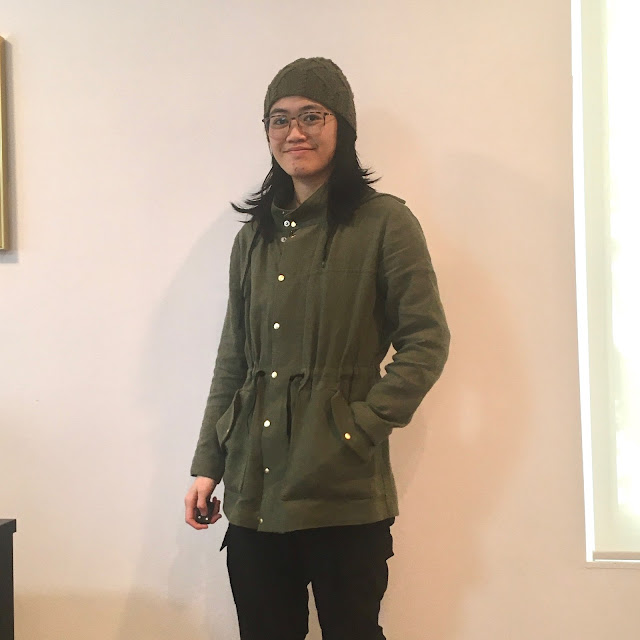
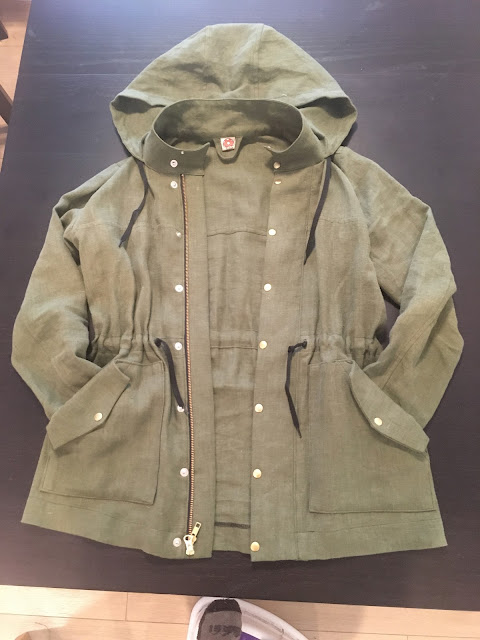
Fabric: 4C22 MOSS Softened Linen (7.1 oz/yd2)
Hardware and tools:
- 20L (1/2") gold spring snaps
- shoelaces that I got from my local Buy Nothing group, haha
- Spring Snap Setter Tool Kit technically for 5/8" snaps, but it still worked for my snaps, thankfully
- 24" #5 Brass Two-Way Jacket Zipper
Size: 8
Mods:
- double pockets: in the flap and out of the flap
- shortened hem by 2"
- sleeve lift alteration, following Sew Sew Live's method
- hood and collar separation alteration
- removed cuff placket and just sewed regular cuffs
- shortened sleeves ~1"
- flipped placket positioning (more about that later)
The good and the bad
There's a lot I don't like about this jacket, mostly because of how difficult the construction was (partially my fault). But first, the good:
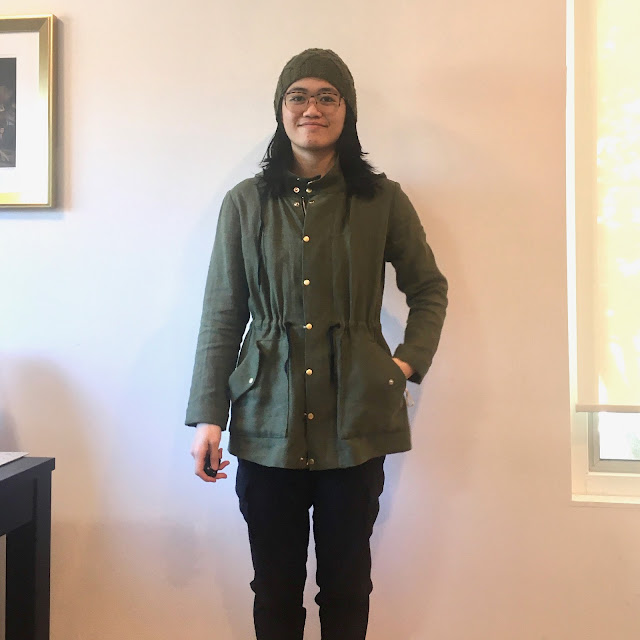
- love my two way separating zipper choice
- double pockets
- very useful jacket
And that's it lol. Well a useful jacket does make up for a lot. But as for the bad:
- I bought the paper pattern, which is a pattern type I don't work with much anymore, and I HATE it. So I ended up cutting the size I needed and gluing all the pieces to thicker paper so that I wouldn't have to deal with tissue, also because I didn't want to trace onto new paper. That was a tedious process.
- I sewed a muslin and the sleeves were very restrictive. It seems like they were drafted how a blazer's sleeve would be, so it would look nice when arm is at the side, but this makes it hard to lift the arm and move it freely. I bet a lot of people had this issue. An anorak is in the realm of active outerwear, so you want the arms to be able to move freely. Luckily, I was able to do a sleeve lift and fix the issue completely (linked above). I had to add 1.5" to the underarm and the sleeve, so a total of 3". Crazy!
- The interfacing I used was not ideal for this fabric. When folded and pressed, the fabric did not crease well at all. It was annoying to deal with. Will go back to my go-to interfacing in the future.
- My pocket construction could've been changed to make it easier to sew and attach.
- The snaps were difficult to install correctly with my too lightweight 10 oz hammer. Going outside to set them on the concrete ground and also using my dad's much heavier hammer helped (gotta get me a heavier hammer now).
- Flipping the placket was probably unnecessary, and made my brain hurt more than I needed, haha. Speaking of...
Flipped placket
So, I have a storebought anorak that I noticed the placket is sewn on the other side, flap on top of right side, as opposed to the pattern having the flap on top of the left side. I didn't buy a zipper with pull on left side as instructed, but my zipper matched the construction of my storebought anorak. So, I had to do the mentally taxing task of flipping the placket by reversing the wording on the pattern pieces and the instructions. Right side became wrong side, or right side became left side. I was able to do it successfully, but in the end I don't think it really mattered how the flap opens and which side the zipper pull is on. Sometimes I get obsessed with the small details in sewing, sigh.

 |
| might want to redo the top 2 snaps |
Double pockets
It shocked me that the pattern's pocket flap is just a fashion flap and isn't functional. I decided to change that by cutting a separate pattern piece with out the flap section and sewing it on top of the pocket, so that there would be a pocket using the flap and behind the flap. But the way I sewed it wasn't ideal and could've been changed. Next time, I'll either do that (let me know if you want to know what I did) or sew welt pockets.


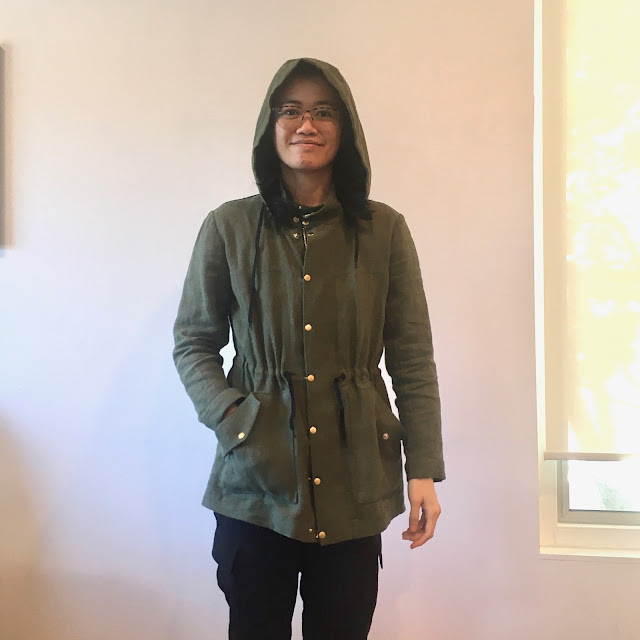
Separate hood and collar
I also didn't like that the collar is attached to the hood. I like a separate collar and hood. Thankfully, my storebought anorak has that, so I was able to follow the construction of that one. To remove the collar part from the hood, I just drew a line straight down from the top to the bottom where the hood attaches to the jacket. Also added a 1" drawstring placket for the hood. Instead of grommets, I used a straight buttonhole.


Snap setting tips
The kit I bought contained the snap setting tools and a hole punch. The snap setters worked well, but the hole punch was basically defective. Luckily I had another stronger hole punch and used that instead. They say a hole punch isn't completely necessary (you could use an awl or cut with scissors very carefully), but having one makes the job a lot easier.
- Definitely use at least a 16 oz hammer to set the snaps, unless you have strong arms.
- Hole punch one side of the snaps, then line it up where the other side will be, mark it and hole punch it. This is the easiest way to align all the snaps as perfectly as you can.
- Unless you have a very big anvil, set the snaps outside on some concrete, instead of your table. The concrete is a much stiffer surface and won't "give" when you hammer, so you'll be able to hit it less. Also you don't want to crack/break your table after all.
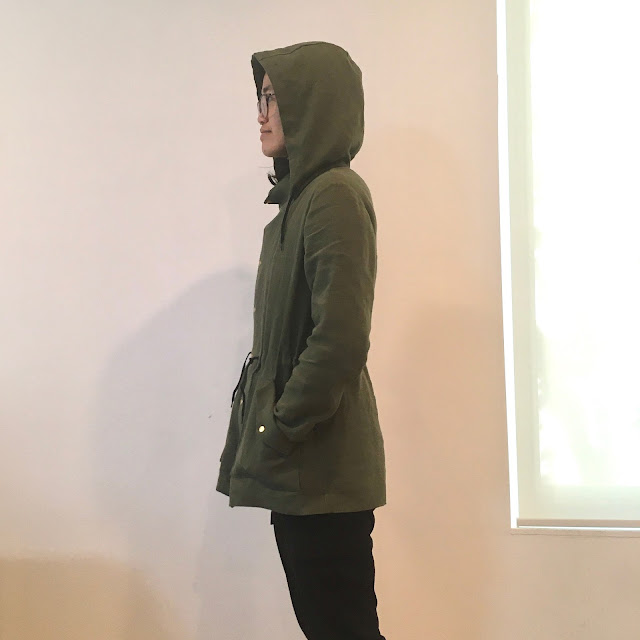
Future mods
For all the work I put into this jacket, I think I should sew it again. I probably have all the flipped placket instructions written out enough, but I would like to shorten the jacket a bit more, maybe 2 more inches. I'd also change the pocket construction again. The jacket is a bit wide at the bust though, I might sew a smaller size. I already cut it out to size, but I can probably grade it down a cheat way by just removing width vertically from the shoulder to the hem. It is broad at the shoulder anyway, so it should be fine. I would use a molded plastic zipper next time, because the metal zipper is too heavy and drags the hood down, so the drawstrings don't stay scrunched to tighten the hood.
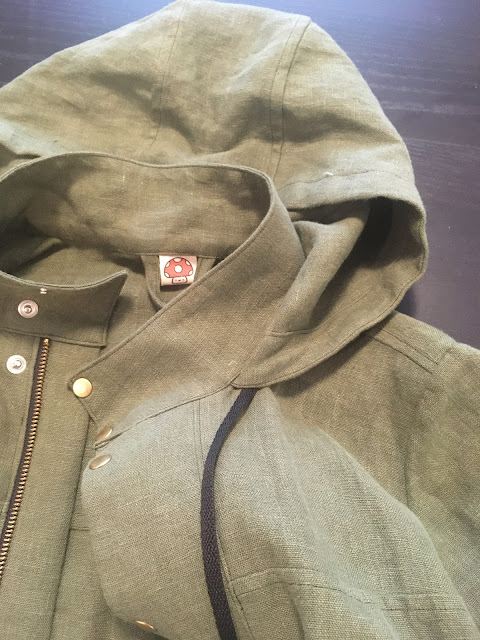 |
| always enjoy my custom labels though! |
No comments:
Post a Comment